Part 1. Install & Register UkeySoft Screen Recorder
Step 1. Download UkeySoft Screen Recorder on PC
Click on the “Download” button below to get UkeySoft Screen Recorder installation package on your Windows PC, and then follow the instruction to complete software installation.
The Windows version is full compatible with Windows 7/8/8.1/10/11 and the Mac version is compatible with Mac OS X 10.10 or higher macOS.
Step 2. Launch UkeySoft Screen Recorder
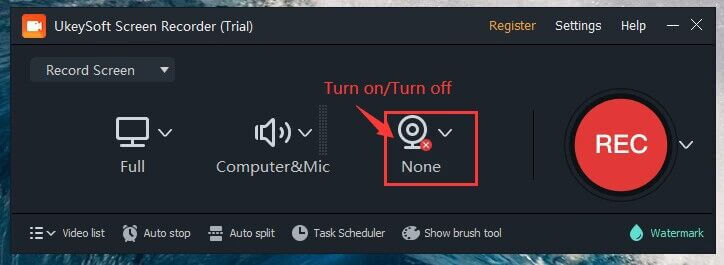
After installation, please double-click the program icon to run it. Once you start the program, it will pop up a registration window. For the trial version, you can use it to directly record any video or capture any area of your computer screen, or record full screen, however, there is a watermark in the recorded video file and also has some limitations.
Trial Version: Take screenshot for free, record video for free, but the recorded video files comes with watermark. However, there is some limitations in the trial version.
Full Version: Unlock all limitation, use full features.
To unlock the restrictions and use all features of the program, you will need to purchase the license code and activate the program.
Step 3. Register UkeySoft Screen Recorder
To record video without watermark and unlock all limitation, you need to register the program with a activate code. How to get the licensed code? Just go to our purchase page, and click "Buy Now" to buy a license code.
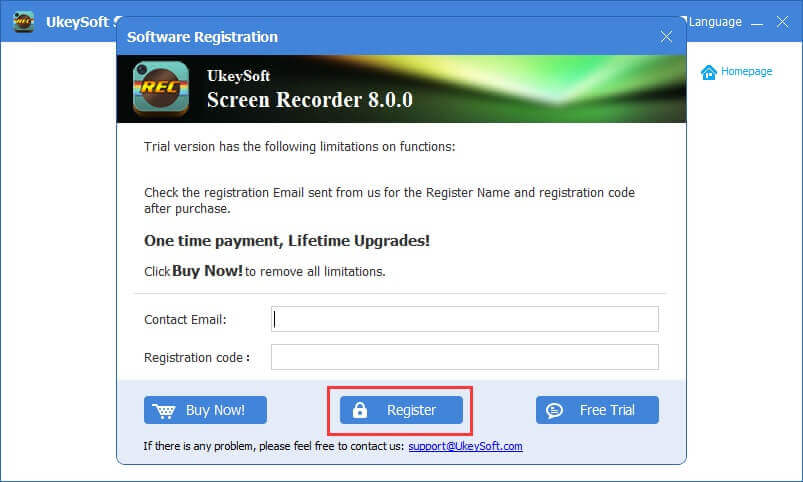
Just wait for several minutes, you will get license code via E-mail. Copy your license code and paste it into the Activation box and enter your email address, then click "Register" button to upgrade the program to full version.
Note: One-time payment, lifetime use, and lifetime free upgrades! If you encounter any problems during purchase/use, please connect us via email: [email protected].
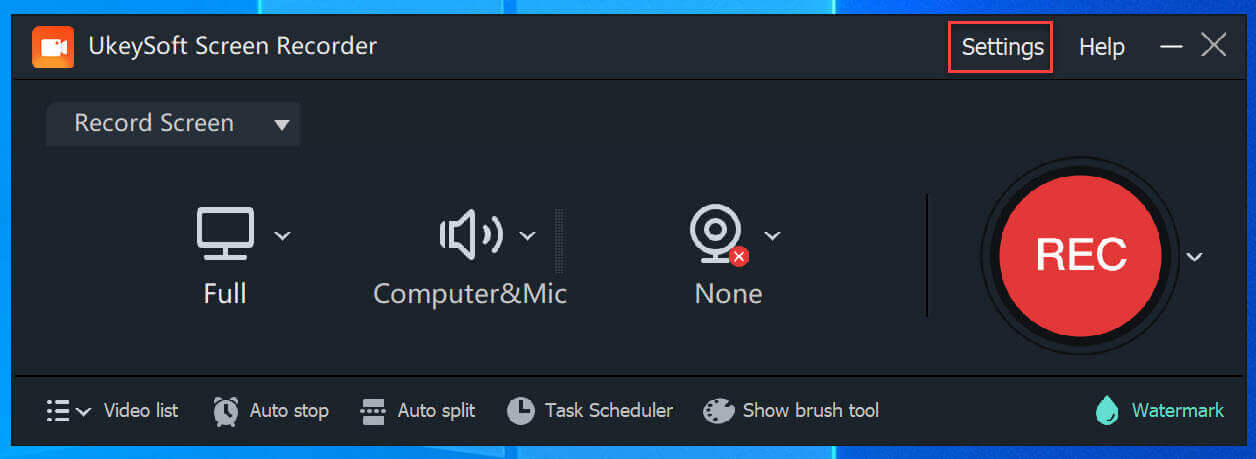
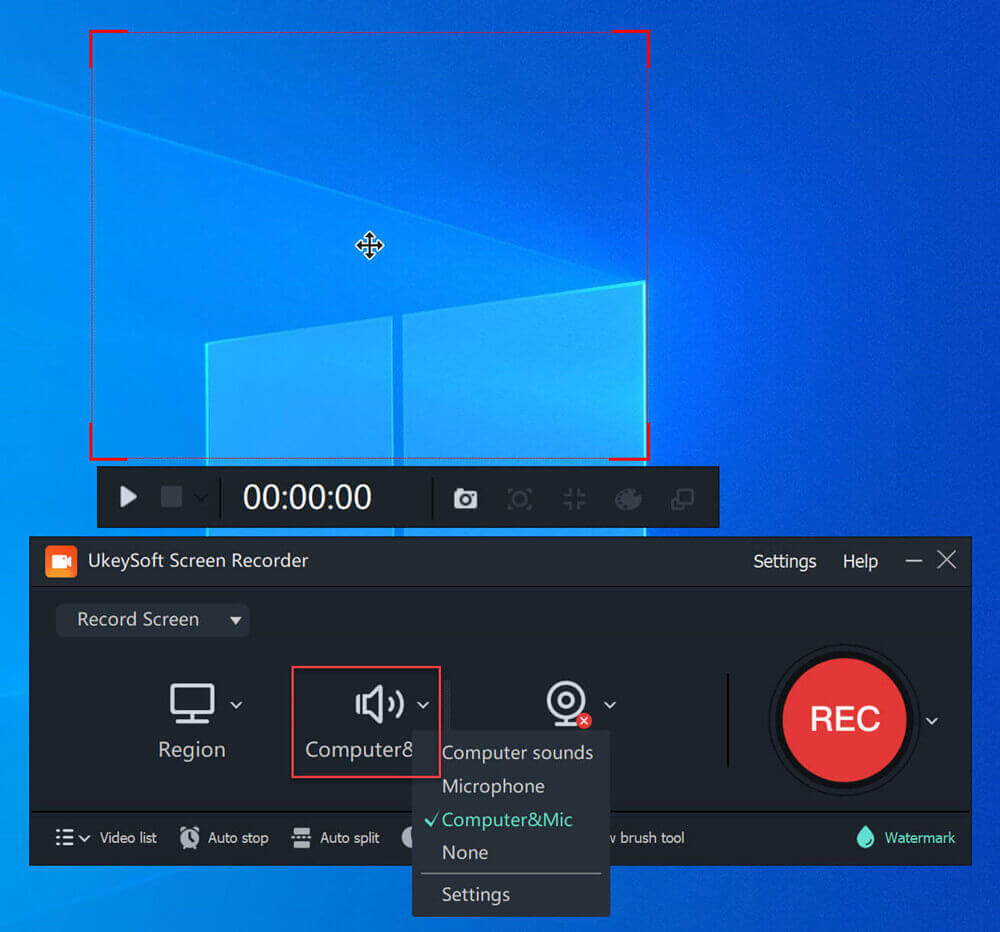
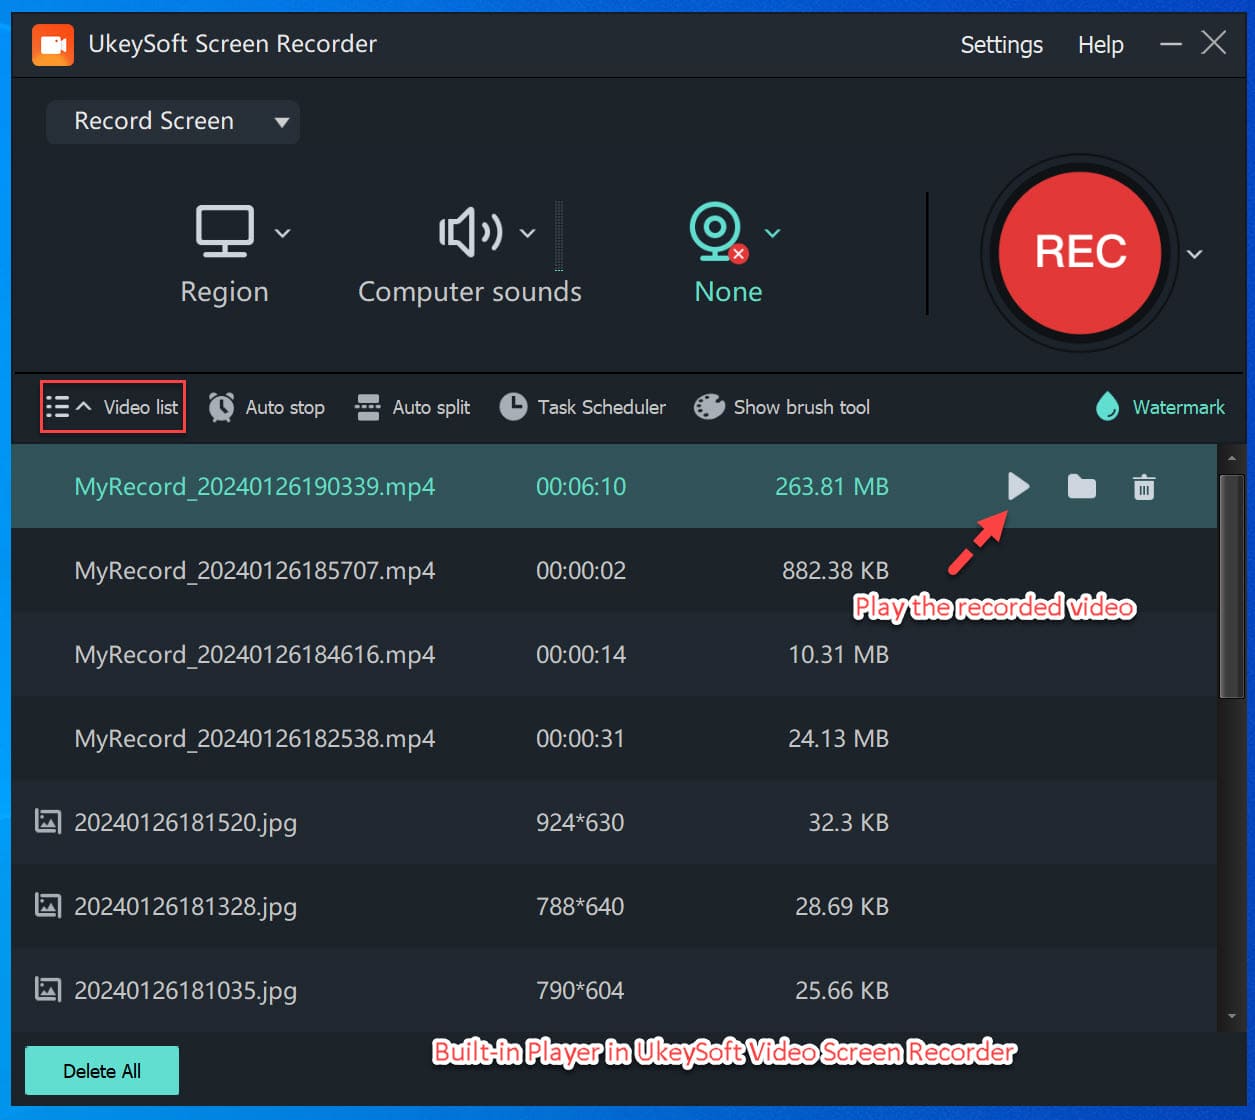
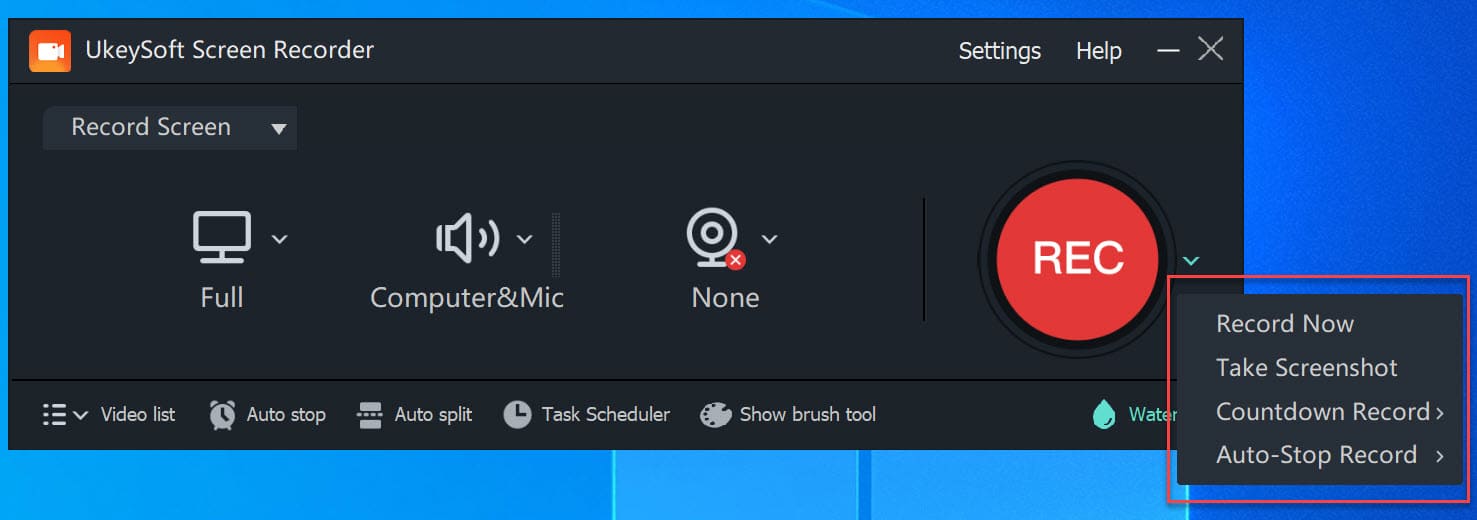
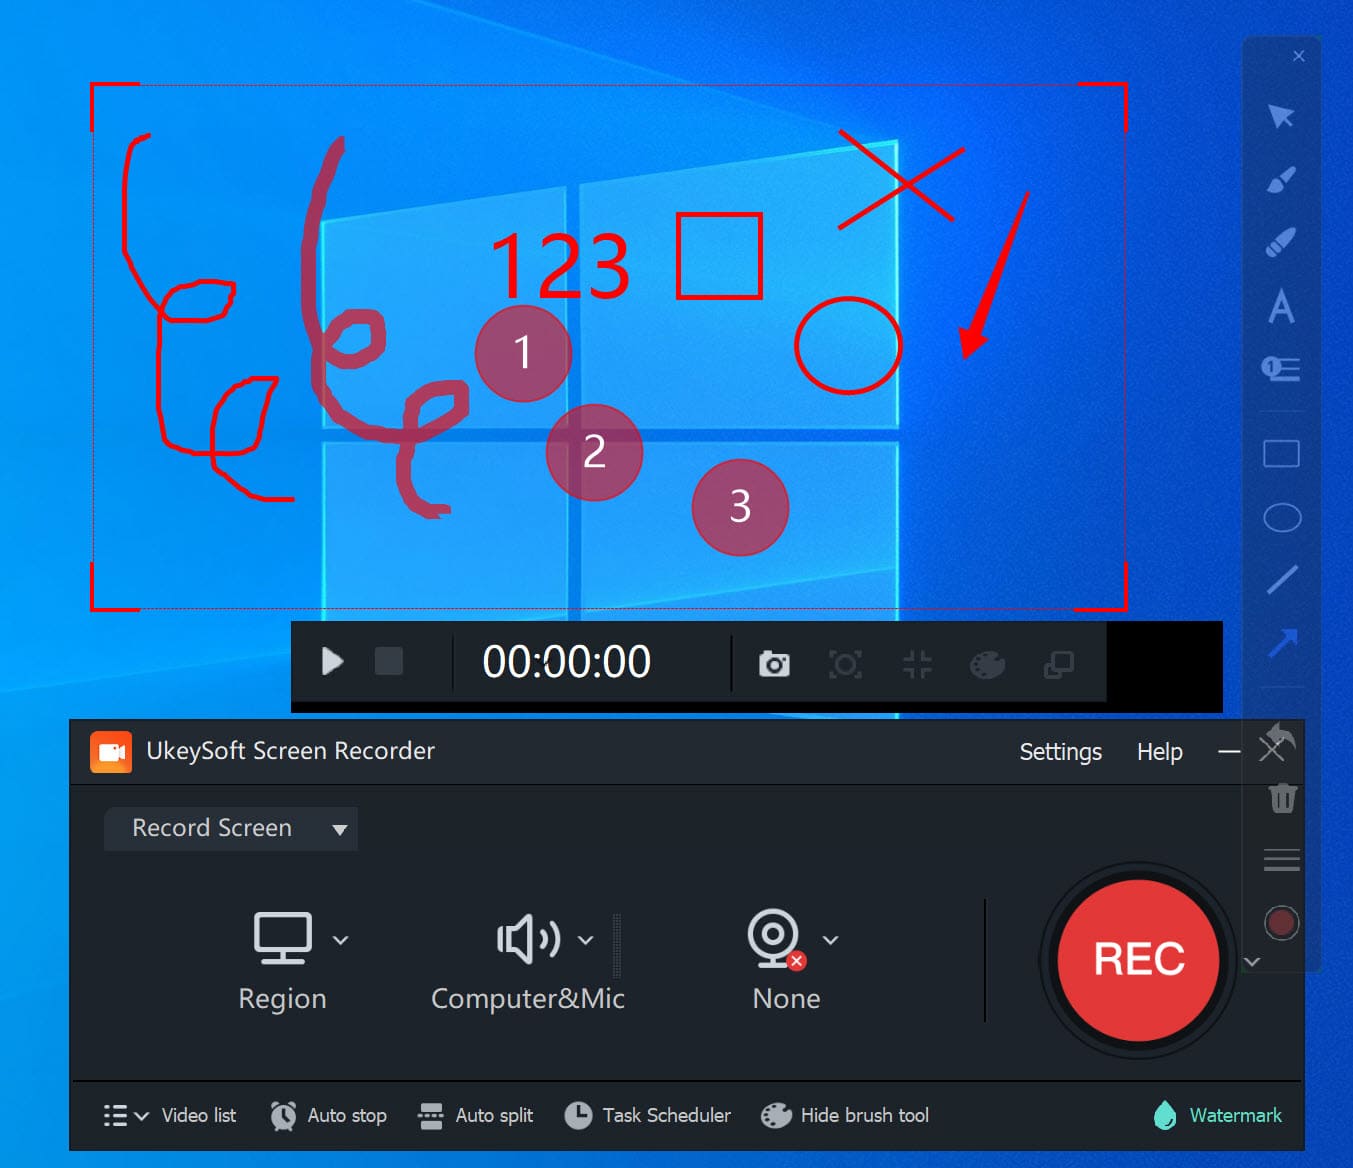
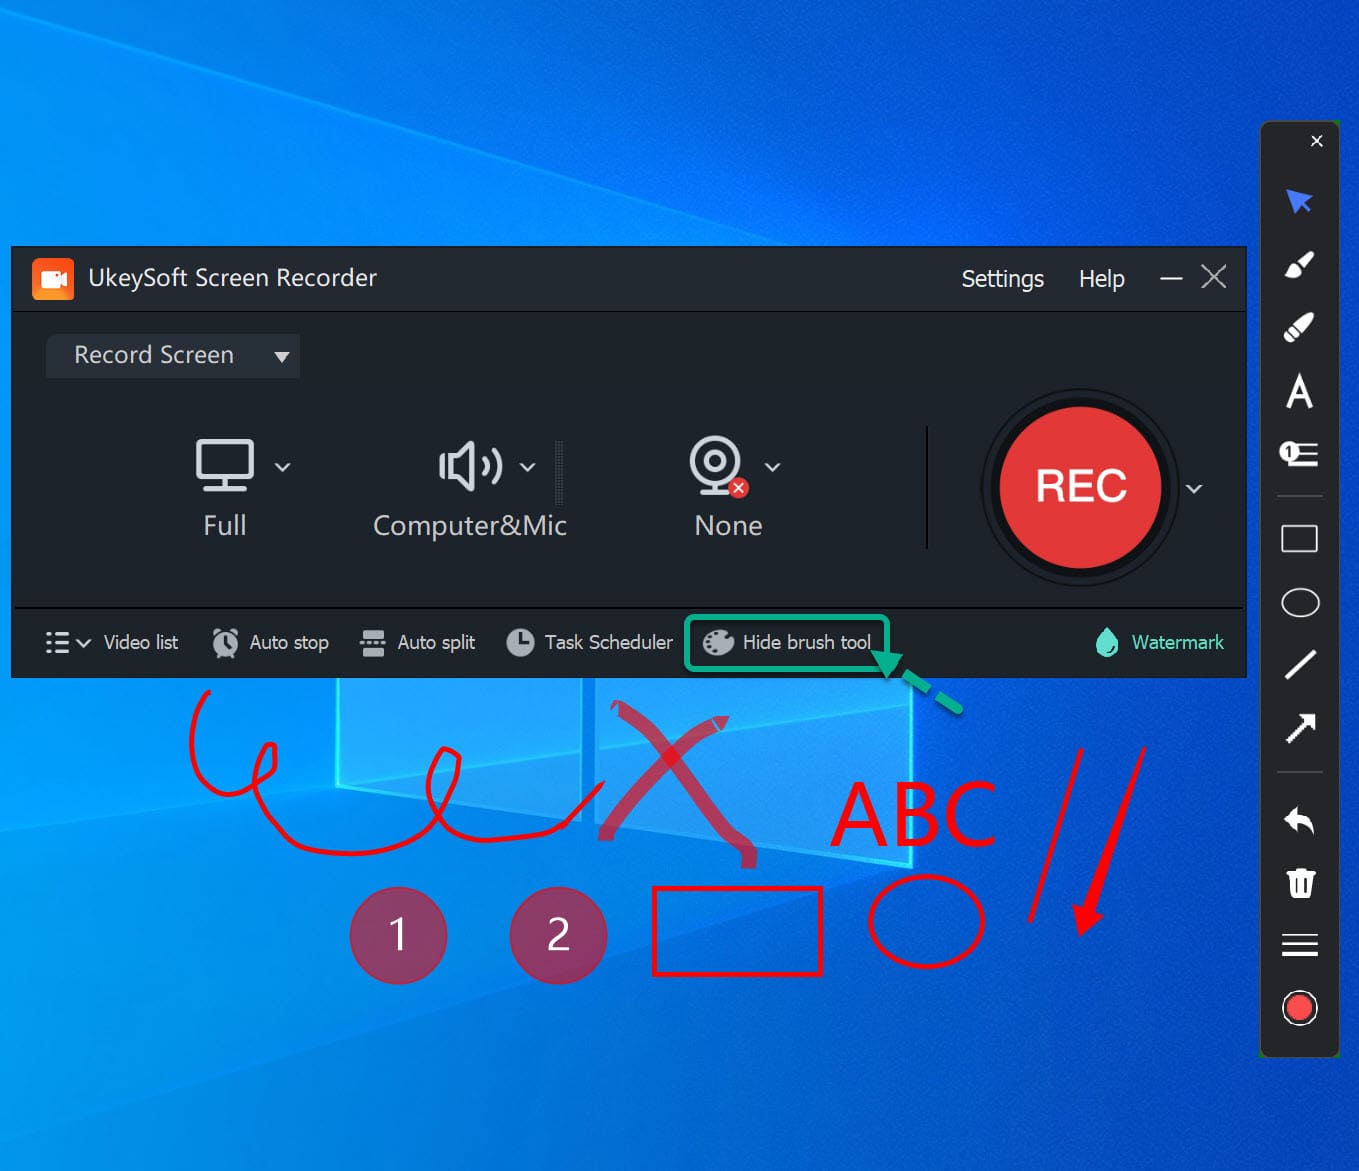
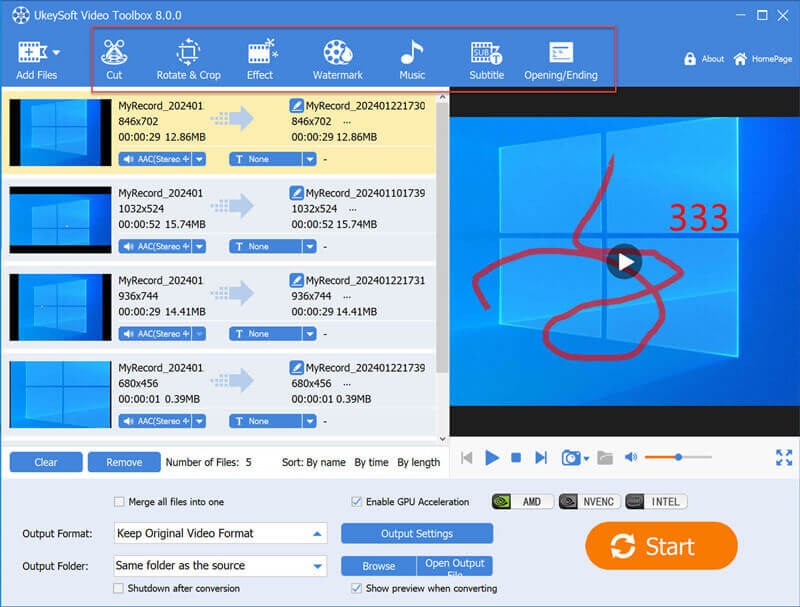
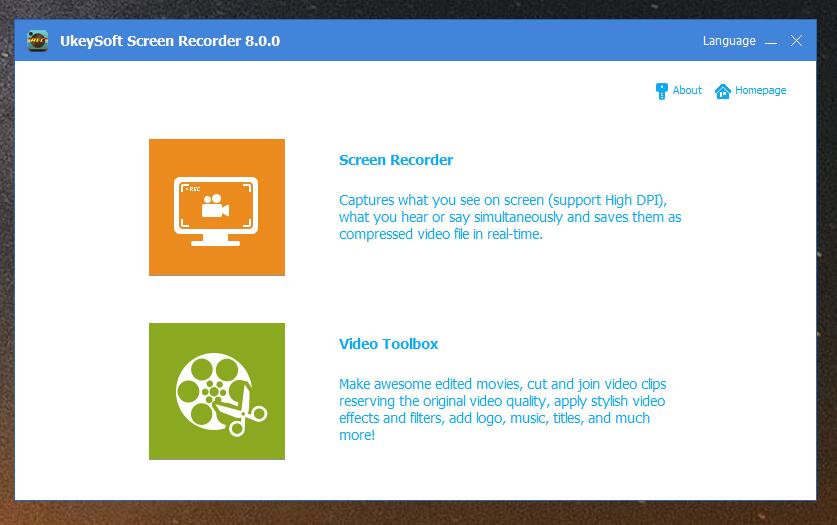
Step 4. Getting Started
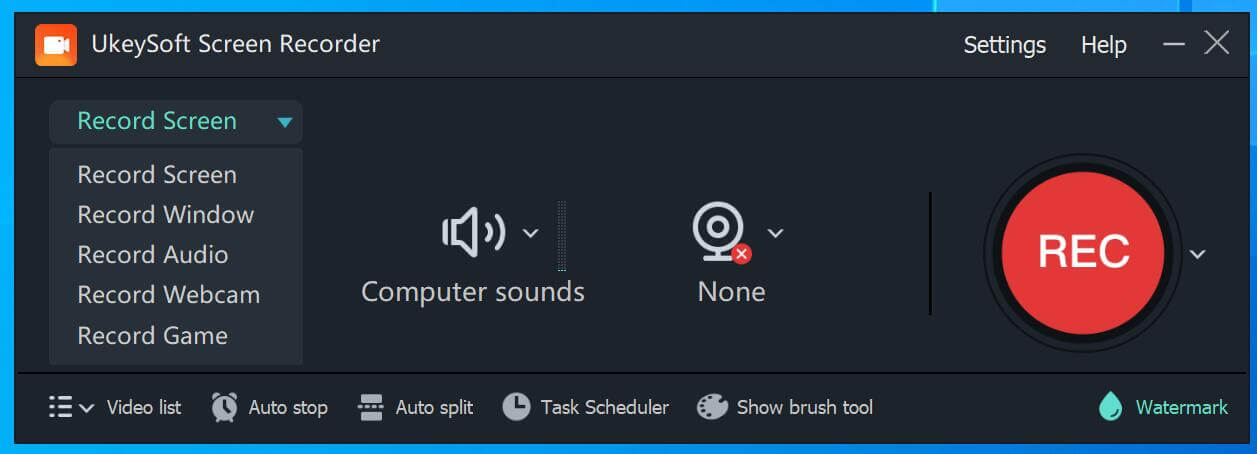
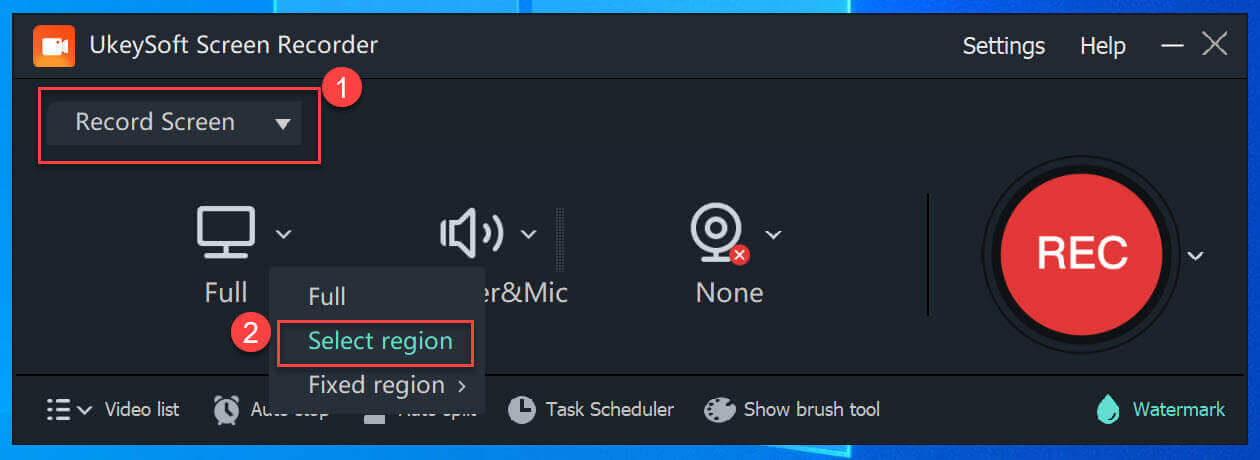
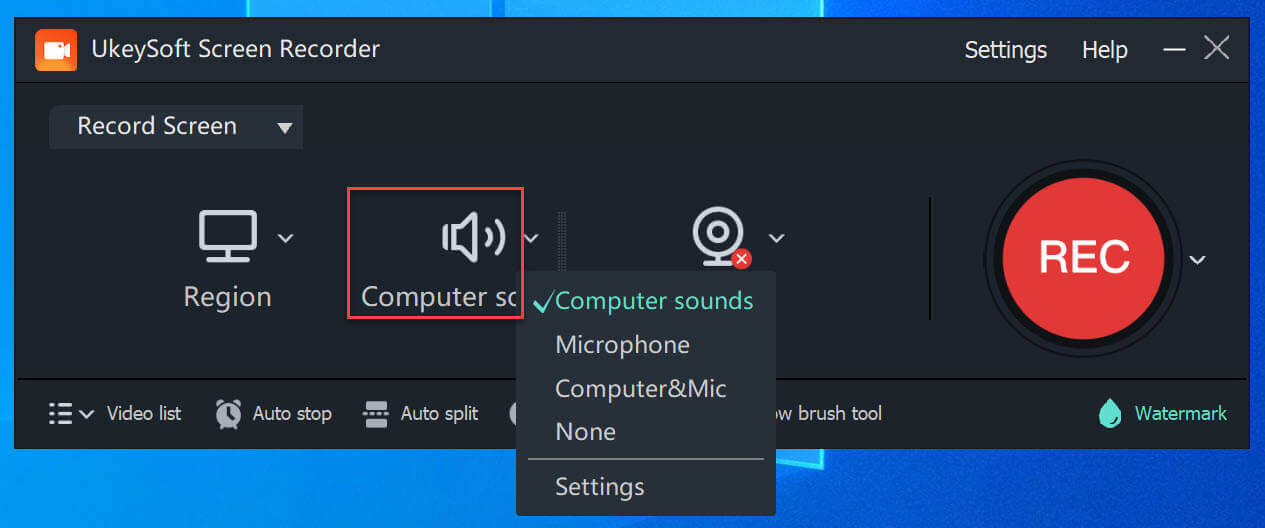
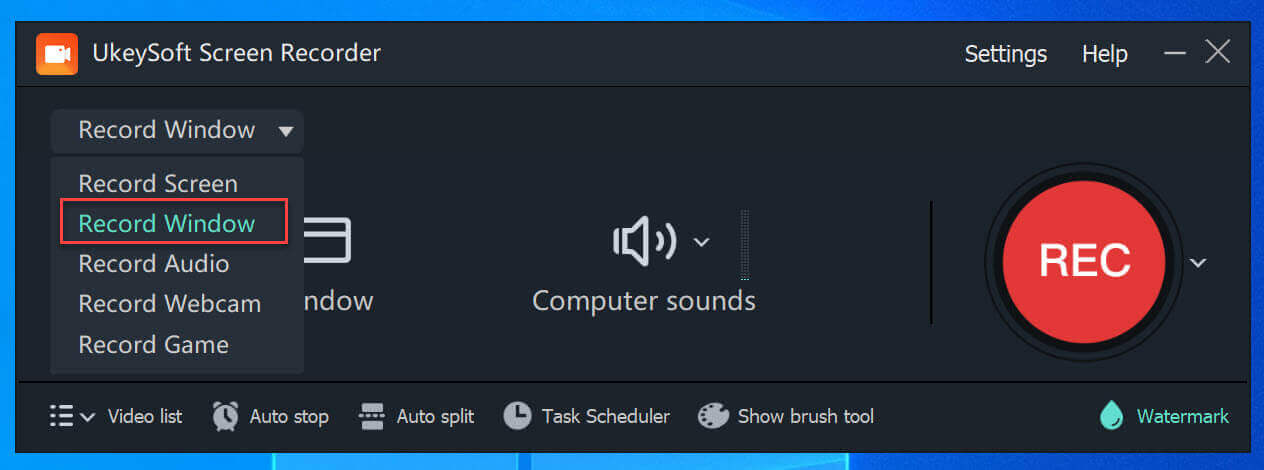
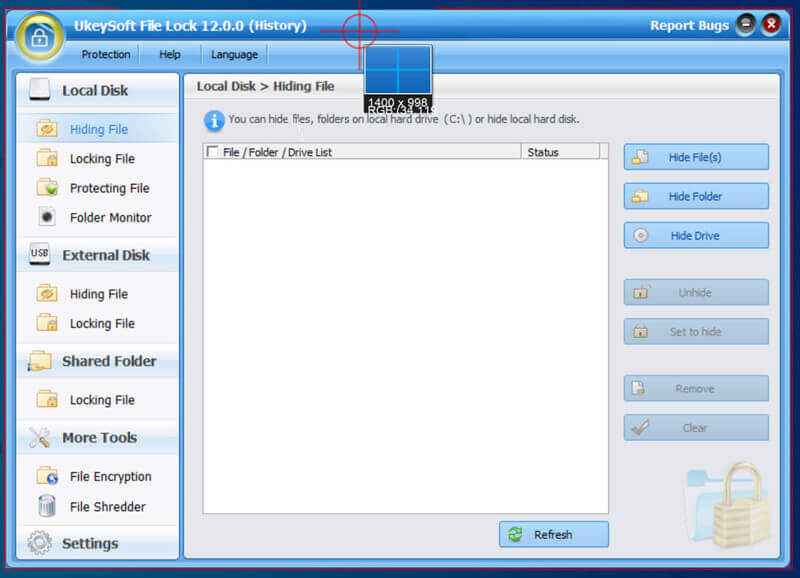
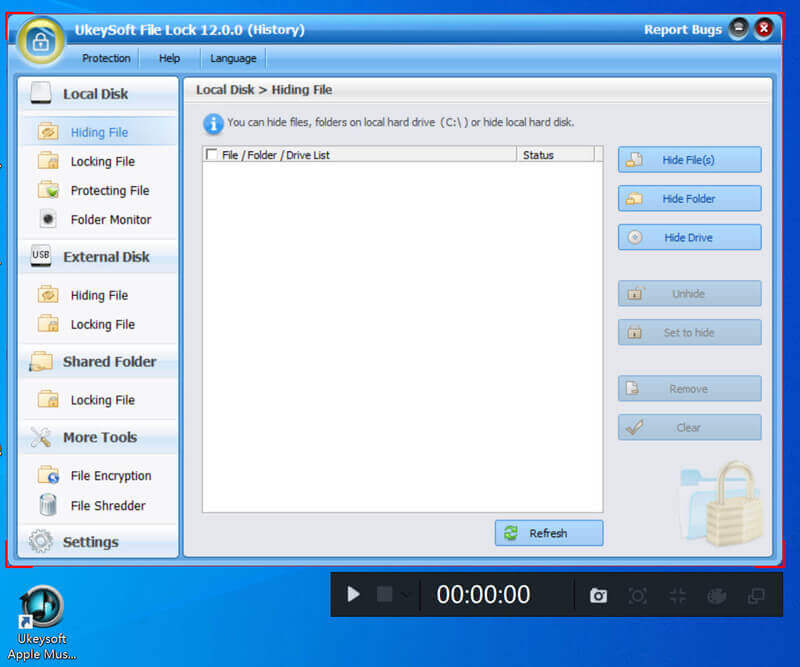
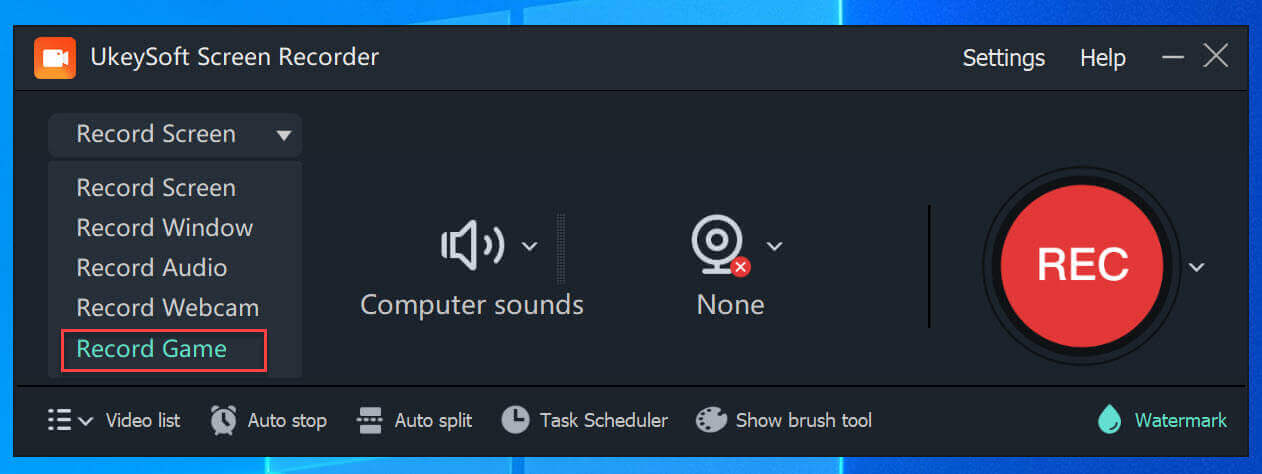
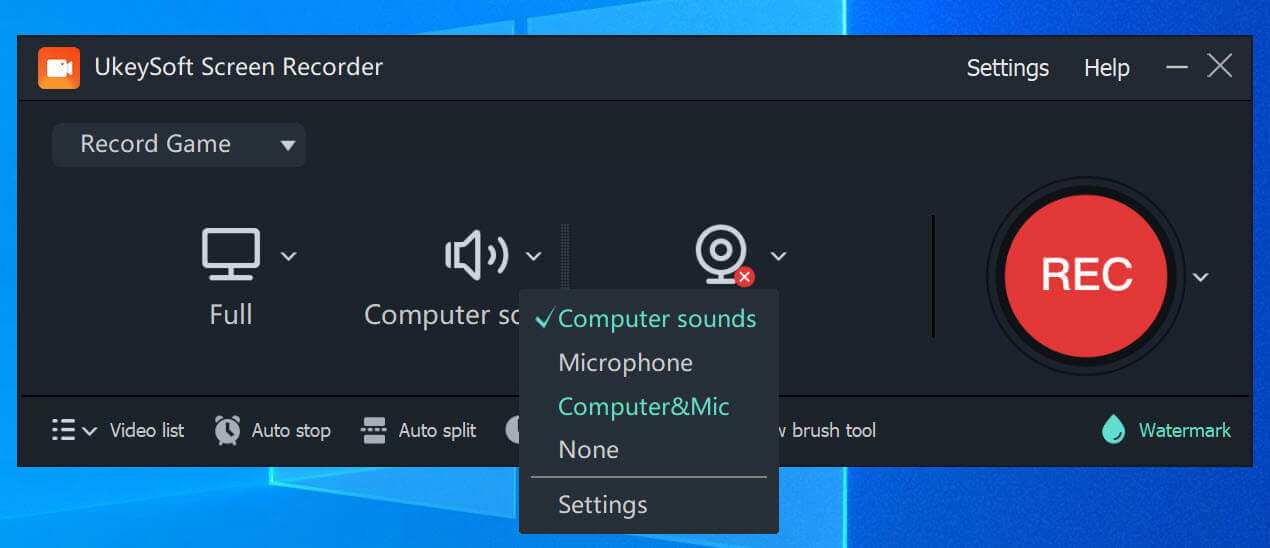
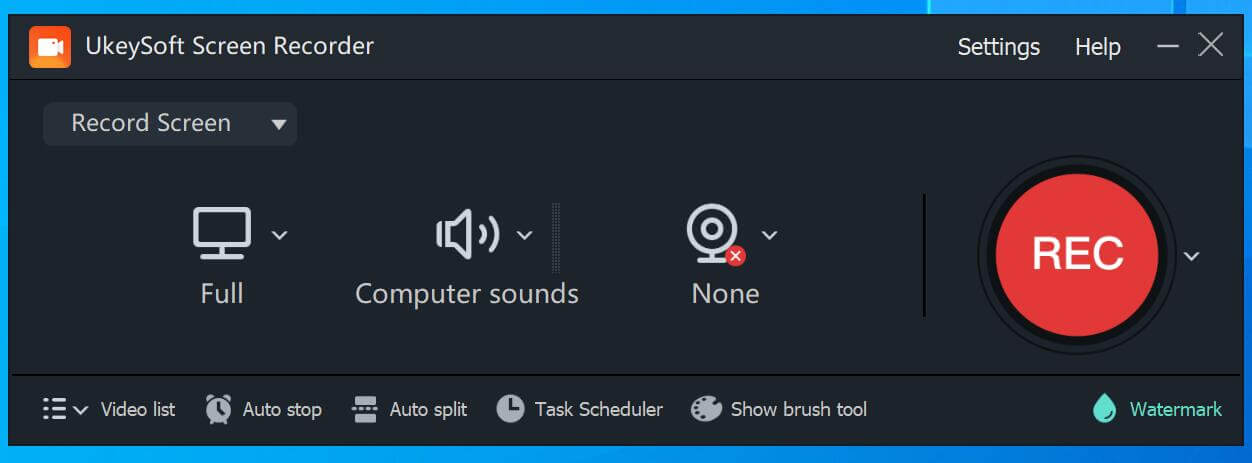
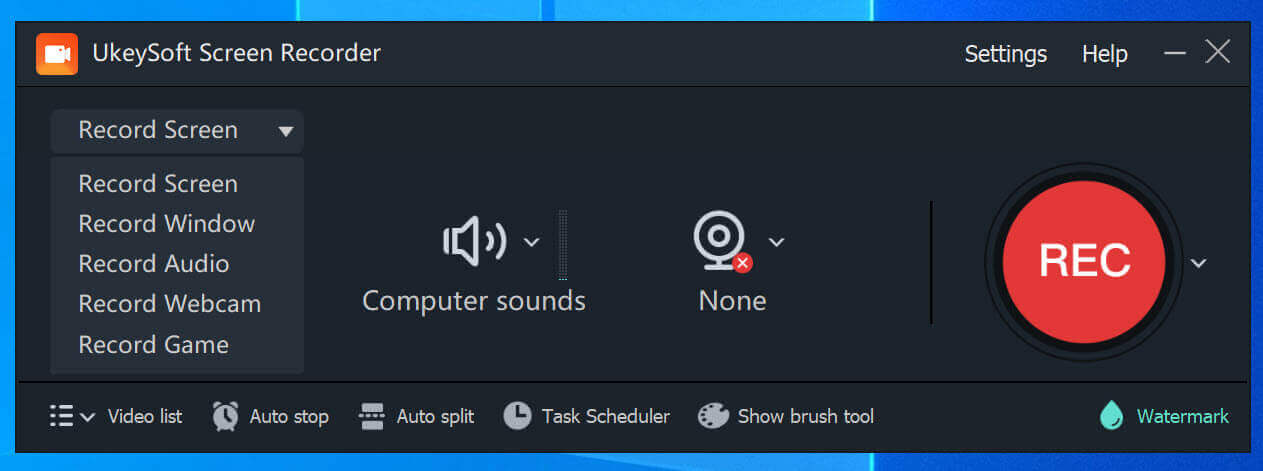
Fire up UkeySoft Screen Recorder on your Windows computer, click "Screen Recorder" function to go on.
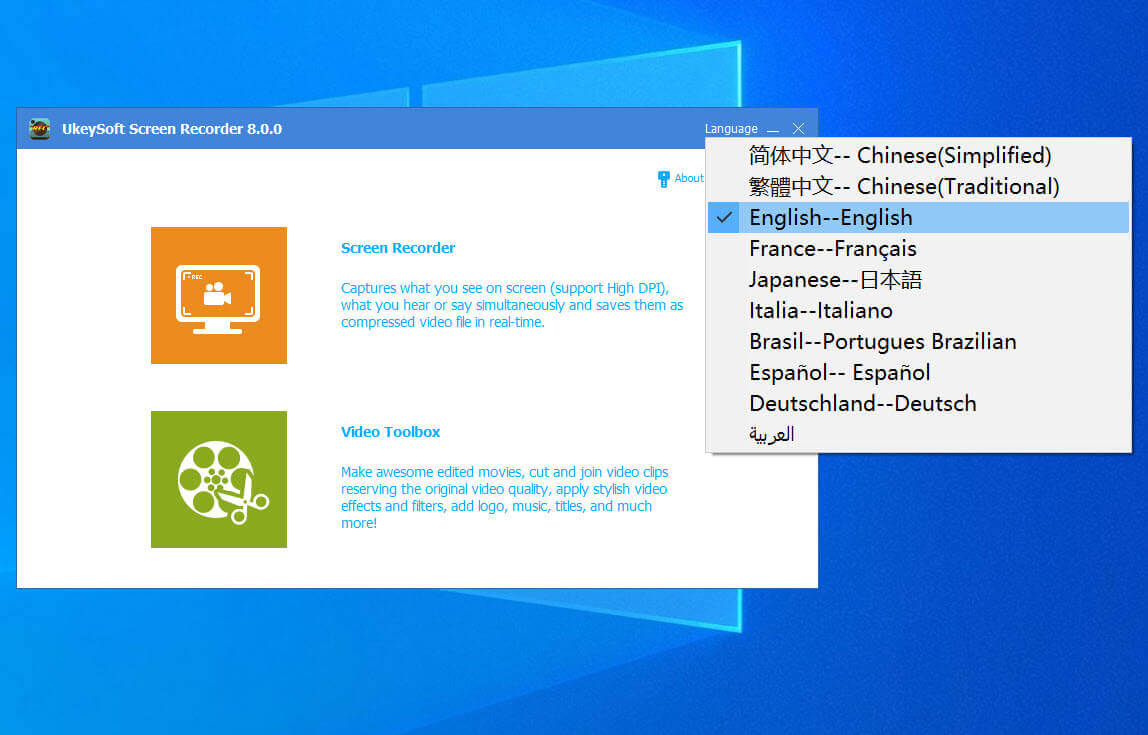
UkeySoft Screen Recorder Multiple Language Supported
To better meet requirements of users from all over the world, we have released multilingual version of UkeySoft Apple Music Converter. The interface languages include: English, French, Japanese, Deutsch, Italiano, Espanol, Brasil, Simplified Chinese, Traditional Chinese and Arabic (اللغة العربية).